

Nobody has ever shown off a photo of a beautifully prepared subfloor. Subfloor levelling is the least glamorous line on any flooring quote, it is the first thing homeowners try to cut, and it is responsible for more failed installations in Ontario than every manufacturing defect combined.
The frustrating part is that the failure never looks like a preparation problem. It looks like a bad floor. Joints separate, a plank rocks underfoot, something creaks near the kitchen island, and the natural assumption is that the product was cheap.
Quick answer: Subfloor levelling corrects dips and humps (flatness), not a gentle slope. Most manufacturers allow 3/16 in. over 10 ft or 1/8 in. over 6 ft, some rigid core products only 1/8 in. over 10 ft, and exceeding that is the fastest route to a voided warranty.
Flat and Level Are Not the Same Word
This confuses almost everyone, including some contractors. Level means horizontal, in agreement with gravity. Flat means free of dips and humps across the surface.
A floating floor genuinely does not care if a room slopes gently from one end to the other. Old houses in Kitchener and Hamilton slope all the time and their floors survive fine. What a floating floor cannot tolerate is a wave, because a plank suspended over a hollow has nothing supporting it when weight lands on top. Subfloor levelling addresses the wave, not the slope.
The number that matters
Most manufacturers publish the same subfloor flatness tolerance, three sixteenths of an inch over a ten foot span, or one eighth of an inch over six feet. Some rigid core products tighten that further. A technical guide published in 2026 noted that certain rigid core formats call for one eighth of an inch over ten feet because of tighter joint engineering, which is a genuinely demanding standard in a renovation.
Exceeding those numbers is the fastest route to a voided warranty. Manufacturers know it too, which is why the subfloor flatness tolerance clause sits near the front of almost every installation document.
How to Find the Problem Before It Finds You
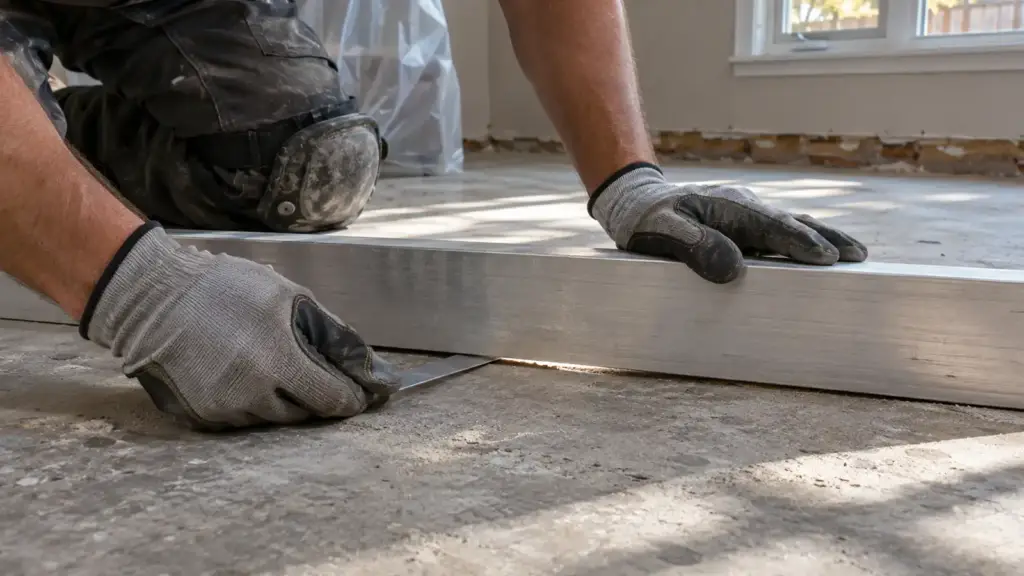
The straightedge test takes twenty minutes and needs nothing more than a long level or a straight length of aluminium. Lay it down, look for daylight underneath, and slide a few stacked coins into any gap you find. A dime is roughly a millimetre and a half, which makes it a surprisingly good field gauge.
Move in a grid, then repeat diagonally. Pay particular attention to the spots that always cause trouble:
- Doorways, where two framing systems meet and rarely agree on height.
- The area in front of a fridge or a fireplace hearth, where old repairs tend to pile up.
- Slab control joints and anywhere a previous floor was patched in a hurry.
Running the straightedge test before the old flooring comes up is guesswork, so the honest version of this happens on demolition day with the substrate exposed.
An uneven floor almost never announces itself evenly. It is usually two or three local problems rather than a whole room out of plane, and proper subfloor levelling is often a matter of treating those specific areas rather than resurfacing everything.
The Fixes, From Cheapest to Most Involved
Grinding and patching
High spots get ground down. Concrete gets a diamond cup wheel, plywood gets a belt sander or a plane. This is dusty, loud, and the most cost effective correction available, because it removes material rather than adding it.
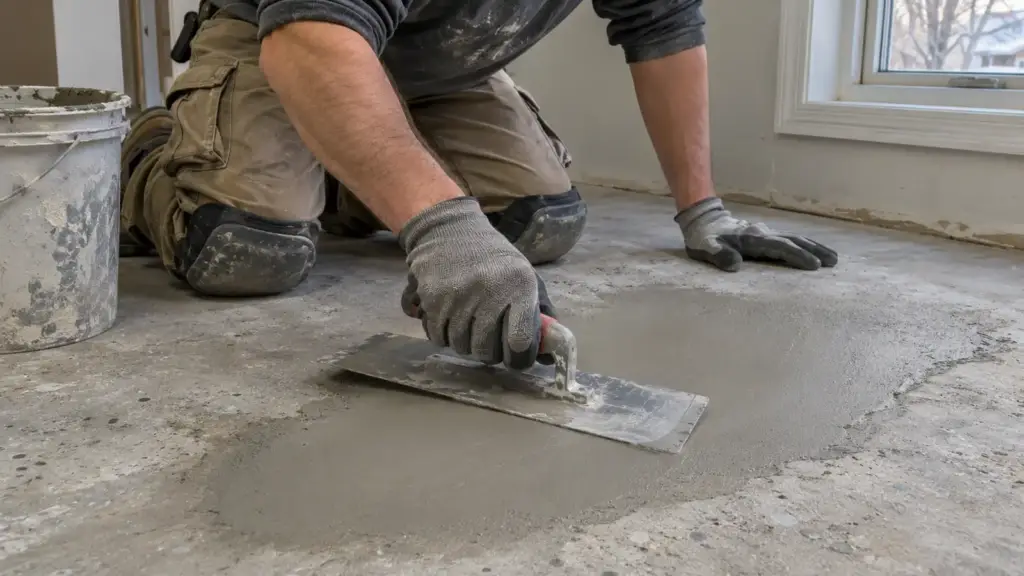
Low spots up to a few millimetres get a cement based patching compound feathered out with a trowel. Cheap, fast, and perfectly durable when the substrate is clean and primed. An uneven floor caused by two or three shallow dips rarely needs anything more than this.
Self levelling compound
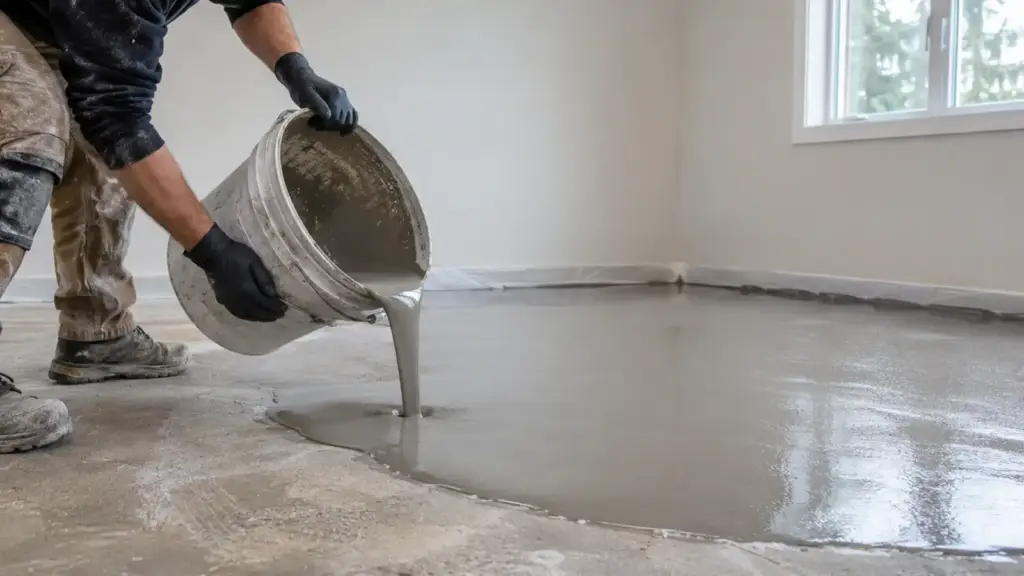
For larger areas, self levelling compound poured over a primed slab does what no trowel can. It seeks its own plane, fills everything, and cures hard within hours. It is also unforgiving of mistakes, since self levelling compound sets fast and flows into places nobody intended, like the gap beside a floor vent.
Cost varies with thickness. The floor levelling cost in most Ontario projects runs roughly two to five dollars per square foot for a poured application including primer and labour, which explains why quotes for the same house differ so widely depending on whether the installer measured the substrate or guessed at it.
When the wood itself is the problem
Sometimes the surface is not the issue at all. Plywood subfloor repair becomes necessary when sheathing has delaminated, when a panel has swollen at the seams from an old leak, or when the original fasteners have backed out over twenty years of seasonal movement.
Screwing loose panels back down into the joists costs almost nothing and eliminates a whole category of squeak before the new floor goes on. Plywood subfloor repair done at this stage is the cheapest it will ever be. Replacing a water damaged sheet costs a bit more and is still cheaper than doing it later, from above, through a finished floor.
Subfloor Fixes at a Glance
| Fix | Best for | What to know |
|---|---|---|
| Grinding | High spots on concrete or plywood | Most cost effective correction, because it removes material |
| Patching compound | Low spots up to a few millimetres | Cheap, fast and durable on a clean, primed substrate |
| Self levelling compound | Larger areas over a primed slab | Roughly $2 to $5 per sq ft in Ontario including primer and labour |
| Plywood subfloor repair | Delaminated, swollen or loose panels | Re-screwing loose panels costs almost nothing and removes squeaks |
What Failure Actually Looks Like
Hollow spots are the early warning. A plank that sounds different from the ones around it is bridging a void, and every footstep is working the locking joint like a hinge. Given a year or two of that, the joint gives up.
After that comes visible separation between planks, then edges that lift slightly, then the hollow click that turns into a proper creak. Hollow spots near a doorway are especially common, since that is where two framing systems meet. On glued installations the symptoms differ, and bond failure shows up as a plank that simply releases and slides, usually right where the adhesive had nothing flat to grab.
None of these get better on their own. All of them trace back to the same missing afternoon of work.
Talking About It With an Installer
A quote that includes a flat rate allowance for subfloor levelling is a good sign, because it means somebody thought about the substrate. A quote that does not mention the subfloor at all is either optimistic or the start of a change order conversation on day one of the installation.
Reasonable questions before signing anything. Was the floor straightedged, and in how many directions. What tolerance does this specific product require, since they differ. Is patching included or billed separately once the old flooring comes up, and how was the floor levelling cost estimated before anyone could see the substrate. And what happens if the slab turns out worse than expected under the carpet.
Honest answers to those four questions separate a firm price from a hopeful one.
Worth Paying For
There is a version of this conversation where subfloor levelling sounds like an upsell invented to pad invoices. It is the opposite. Proper subfloor levelling protects everything spent on the material, and it is the only part of the job that cannot be corrected afterwards without pulling up the entire floor.
Most homeowners who have been through one failed installation become the most enthusiastic advocates for it. They have already paid twice. The second quote always includes proper subfloor levelling, and the second floor always lasts.
Subfloor Levelling FAQ
What is the difference between a flat floor and a level floor?
Level means horizontal, in agreement with gravity. Flat means free of dips and humps. A floating floor tolerates a gentle slope but not a wave, and subfloor levelling addresses the wave.
What subfloor flatness tolerance do flooring manufacturers require?
Most publish 3/16 in. over a 10 ft span or 1/8 in. over 6 ft. Some rigid core formats tighten that to 1/8 in. over 10 ft.
How do I check whether my subfloor is flat enough?
Use the straightedge test: lay a long level or straight aluminium length on the floor, look for daylight underneath and slide stacked coins into any gap (a dime is roughly 1.5 mm). Work in a grid, then diagonally, with extra attention to doorways, the area in front of a fridge or hearth, and slab control joints.
How much does floor levelling cost in Ontario?
A poured self levelling application typically runs roughly $2 to $5 per square foot including primer and labour. Grinding and patching small areas costs less.
What happens if subfloor levelling is skipped?
Hollow spots appear first, followed by separating joints, slightly lifting edges and creaks. On glued installations, planks release and slide where the adhesive had nothing flat to grab.
Planning a new floor? Ask Petun Flooring about subfloor preparation and get any levelling priced up front, rather than discovered on installation day.
